Desktop Environment

A step-by-step guide on how to install desktop environment on your Raspberry Pi and which one to pick. Mate, XFCE or may be KDE.

Desktop environment installation

Your Raspberry Pi is up and running but you did not install it with a GUI or maybe you are not a big fan of the default offer. Whatever the reason is an hour from now you will be watching YouTube videos and editing documents on your Raspberry Pi. As I mentioned in the How to install Raspberry Pi OS guide we have several choices when it comes to the desktop environment. Thers is KDE, GNOME, LXDE, XFCE, and MATE.

Although both, KDE and GNOME can be installed on Raspberry Pi they tend to run smoother on more powerful machines. It is possible to make them look and behave exactly like Windows or MacOS desktops. However, you probably want to install many more apps and save every CPU cycle you can, to run them as fast as possible.

The installation process for the most part is pretty much the same for all of them with the except for one or two commands. I will detail them below. Keep in mind that this guide is for Raspberry Pi OS and it may not work on Ubuntu or Manjaro. I will post guides on how to install other Linux distributions and desktop environments shortly. Links will be on the main blog page as well as on U Press Me Facebook page.

This guide covers

1. Update operating system

Before we answer the How to install desktop environment question make sure you update your system. If you followed the previous guide about installing Raspberry Pi OS you should be good to go.


sudo apt update && sudo apt -y upgrade


2. Install and enable SSH - optional step

In theory, this step is optional. You don’t have to enable SSH on your Raspberry Pi but it will make administration so much easier. I strongly recommend enabling SSH. I can not image running any Linux machine without SSH.

To enable SSH simply type the commend you see below. It will start a simple configuration utility that allows us to enable SSH server. We will use raspi-config to configure additional settings later on in this guide.


sudo raspi-config
				
			
Using your arrow keys move down to 5 Interfacing Options and press the Enter key. On the next screen move down to P2 SSH and press the Enter key. If Yes is not highlighted press the Tab key and once again press Enter. The screen will briefly flash and you should message confirming that SSH Server has been enabled. Press Enter and using your Tab key select. Pressing Enter exits the utility. All you have to now is reboot the system with the sudo reboot command.
				
					
sudo reboot


3. Accessing your Pi with SSH

If you are a Windows user you can grab Putty. Mac users have a few more choices. I use Termius. Free utility which in addition to your Mac can be installed on all iOS devices. For the most part, the configuration should be very similar on both apps. You will need to enter IP address of your Raspberry, user name, and password. Termius takes care of the private and public keys in the background so I would imagine that Putty does it similarly. Now you remotely access your Raspberry Pi. Let’s start installing.

termius adding new host

4. Desktop environment installation

How to install desktop environment? Here is the answer. Let’s get to work. First, we need to install xserver. This is the engine that runs the desktop environment you selected. If you are accessing your Pi over SSH simply copy the command to left, paste it, and hit the enter key. If you are working directly on your Pi you will need to type the command. The installation process could take a few minutes.

At the end of this guide, I will post one command which will install all of the required packages in one go. If you just want to get this done don’t execute the command below. 


sudo apt install xserver-xorg


In step number 2 we are installing the actual desktop environment. Depending on your preference it will be KDE, MATE, XFCE, or LXDE.

The first command from the top installs MATE with a few extra utilities. Command in the second line installs XFCE. Line number 3 and 4 will install LXDE and KDE respectively

As with just about anything in Linux each installation can be further customized. For example, The command for Mate installation you see on the right installs additional packages or extras. These extras will come in handy but you have other choices. There is mate-core. It is a bare-bones configuration and all of the extras would have to be installed manually. There is also mate-desktop-environment command. I have not tried it but it’s something between core and extras.


sudo apt install mate-desktop-environment-extras
sudo apt install xfce4 xfce4-terminal
sudo apt install lxde-core lxterminal lxappearance
sudo apt install kde-plasma-desktop


The last package we need to install is display manager called lightdm. Lightdm is responsible for starting the xserver. It also sets up a user session and displays the greeter. Greeter is basically the login screen.


sudo apt install lightdm


At this point, the installation is completed. The last step is to reboot the Raspberry Pi. The system should now boot up to the graphical user environment and we should be greeted by a login screen.


sudo reboot


5. I just want one command

As mentioned above all of the required packages can be installed in one go with a single command. Adding -y flag to the command installs everything without input from the user. It saves a little bit of time.


sudo apt -y install xserver-xorg mate-desktop-environment-extras lightdm


So you logged in to explore and you might be wondering where is my web browser? I’d like to get email working on my Pi or maybe edit some documents. Well, these applications will have to be installed separately. The system may seem bare but I assure you this is done on purpose. If you want to use the system for server apps there is no point in clogging it with unnecessary applications. If you want to get a full desktop experience you can install everything you need in just a few mouse clicks.

A guide on how to configure desktop environment and additional applications will show up here shortly. Link will be below in the related post section.

Share on

Facebook
Twitter
Pinterest
Reddit

Related posts

ubuntu mate without transparency
raspberry

How to fix transparency in Ubuntu

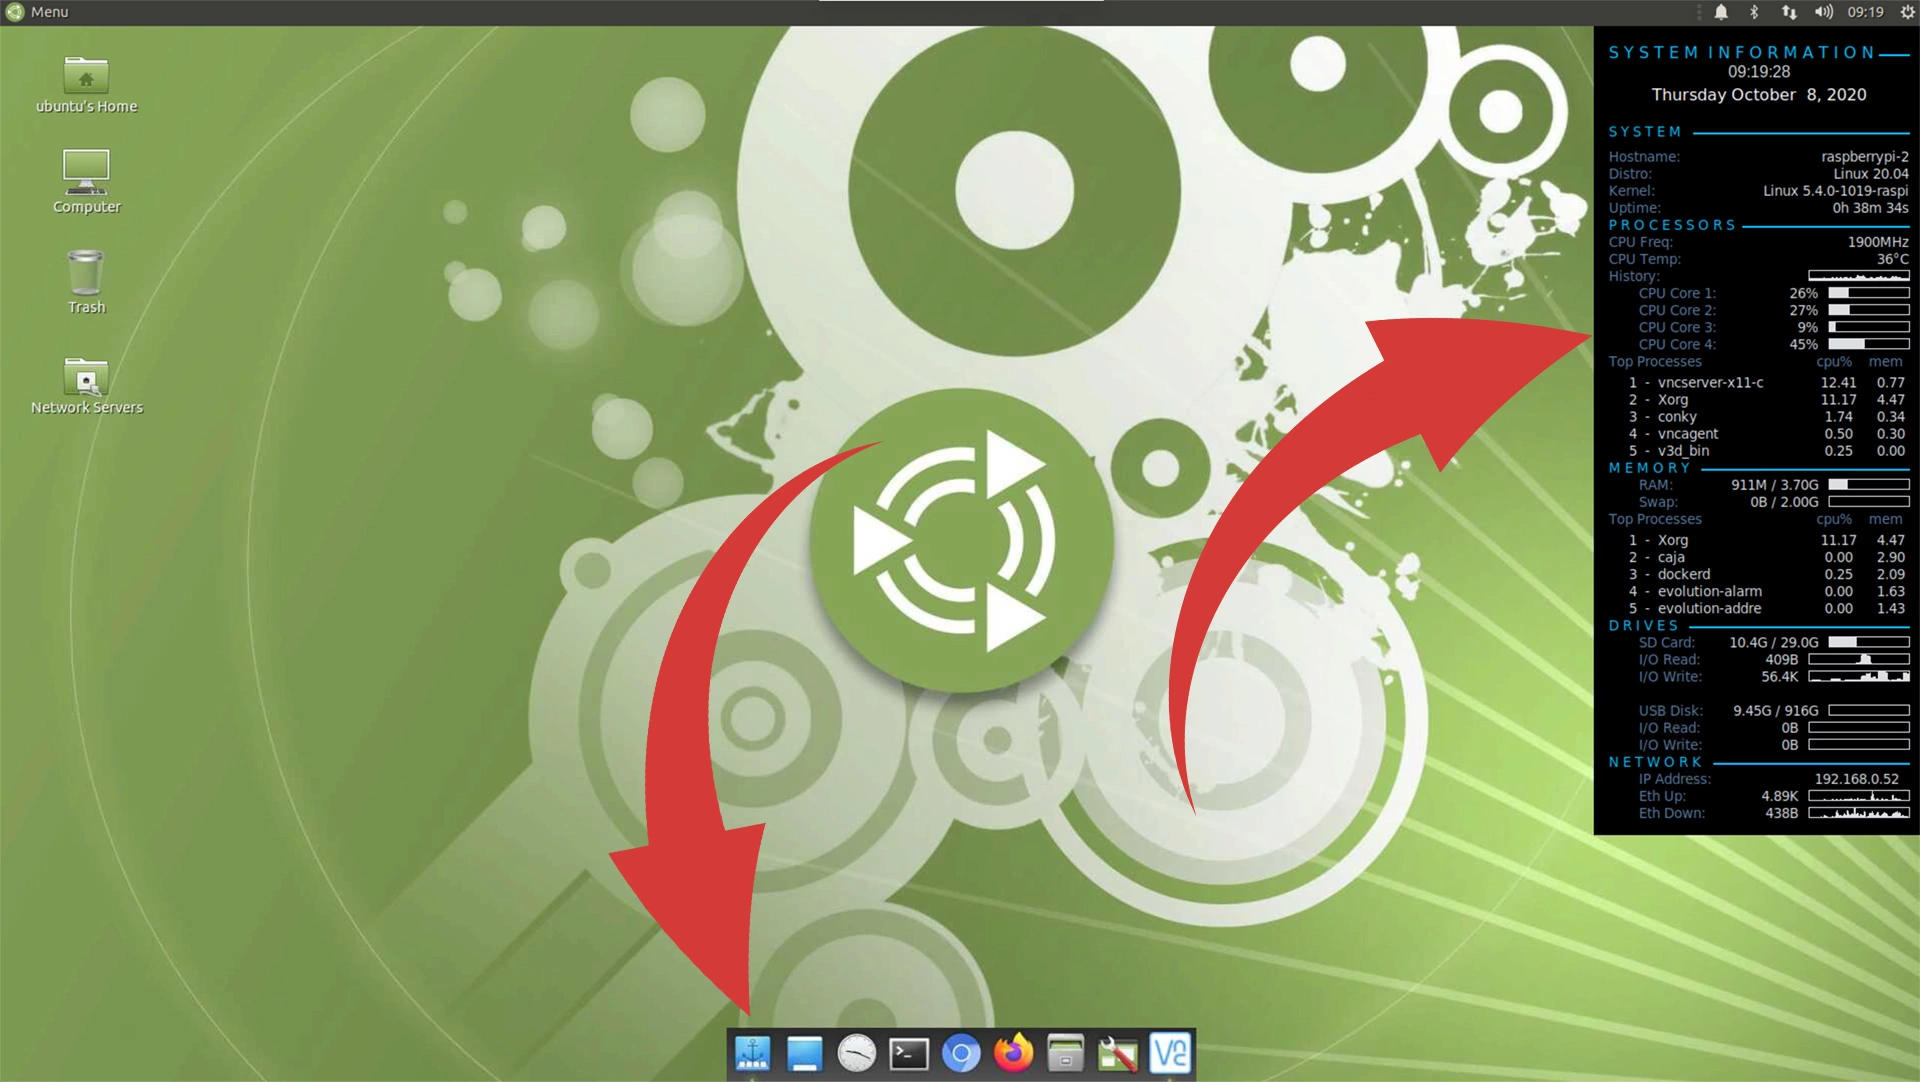
Ubuntu transparency issues Detailed guide on how to permanently fix transparency in Ubuntu with Mate Desktop environment. MATE transparency problems Sooner or later, you may

Read More »
ubuntu mate sound output device settings
hdmi

How to fix sound in Ubuntu

Ubuntu sound issues Step-by-step guide on how to set default sound output device in Ubuntu with MATE desktop environment How to fix sound on Ubuntu

Read More »