Ubuntu transparency issues

Detailed guide on how to permanently fix transparency in Ubuntu with Mate Desktop environment.

MATE transparency problems

Sooner or later, you may notice that the default settings in MATE do not have transparency. Apps and MATE panels always have a background. It will bother some users, while others may not even notice it. Yet, it bugged me enough that I had to do something about it. Changing the transparency settings every time the system boots up was not acceptable.

Unfortunately finding a solution wasn’t as easy as I expected. I’ve spent a considerable amount of time trying to “correct this feature” with no results. At one point, I wanted to give up on Ubuntu once again. Thankfully I came across a post where another annoyed Ubuntu user asked for help on this issue. It turns out that is an app for that. An app that goes deep into the desktop settings. With a couple of mouse clicks, the problem was gone and, I could enjoy Ubuntu. 

This is a short but useful tutorial. Let’s get right into it and find out how to fix transparency in Ubuntu. If you don’t have Ubuntu installed yet, you can check out my How to install Ubuntu on Raspberry Pi tutorial.

This guide covers

1. Default transparency setting in Ubuntu

So, what’s the problem? Well, take a look at the screen capture below. To better illustrate the issue, I changed the desktop background to a lighter one. For example, Conky on the right side of the desktop has a black background. Maybe the app dock on the bottom does not look bad although I would like it to be transparent.

ubuntu mate without transparency

After digging around the Internet, I found the setting which enables transparency. It turns out it is the window manager in MATE Tweak. If you toggle it off and on, transparency will start to work. However, when the system is rebooted, this setting reverts to no transparency mode. Is there a solution besides changing the window manager setting after each system reboot? Of course, there is. It is called dconf-editor.

mate tweak window manager settings

2. Install dconf editor

Since dconf-editor is in the Ubuntu package repository, the installation is easy. Simply type the command below in your terminal, and a moment later dconf will be installed.


sudo apt -y install dconf-editor


3. Change compositing-manager setting

Now open the dcond-editor. It is located under the System Tools menu. If you can not find it, type dconf in the search bar at the top of the menu.

open dconf-editor

When dconf-editor opens up we will be greeted by a welcome screen with a warning message. Yes, changing some settings will break apps. As long as you stick to the settings described below, everything should be fine.

dconf-editor warning message

We need to navigate to the compositing manager. It can be found in orgmateMarcogeneral.

navigating dconf-editor
When you click on the compositing manager, you should see a settings panel like on the screen capture below.
changing values in dconf-editor
We need to change two values and save the new settings. First, turn off the Use default value. This enables the Custom value setting below. Now, change the Custom value from False to True. To save the new settings, click on the checkmark at the bottom of the window.
required dconf value setting

Transparency will be enabled as soon as you save the settings. To test whether the new settings are permanent close dconf-editor and reboot the system.


sudo reboot


If you have any question about the how to fix transparency in Ubuntu tutorial, visit U Press Me Facebook page and post a comment. I’ll be happy to help.

Share on

Facebook
Twitter
Pinterest
Reddit

Related posts

ubuntu mate sound output device settings
How to guide

How to fix sound in Ubuntu

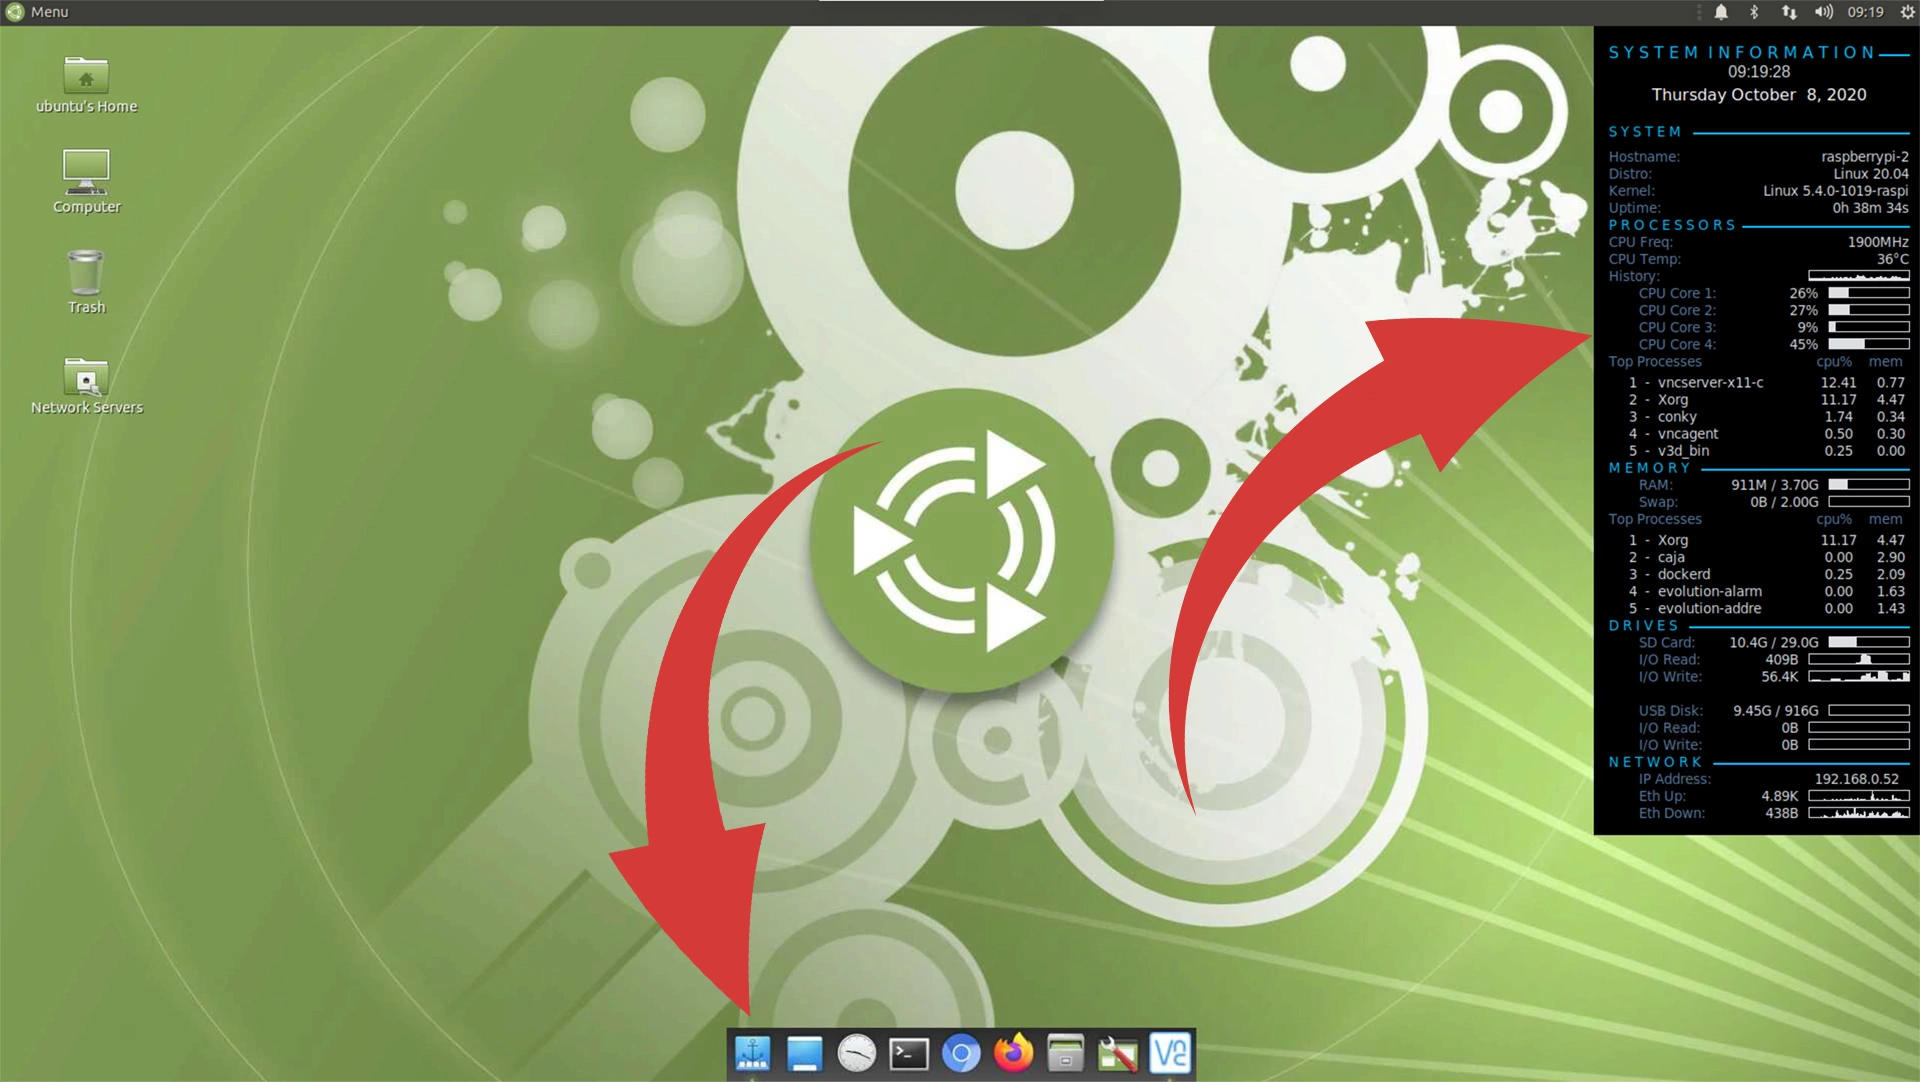
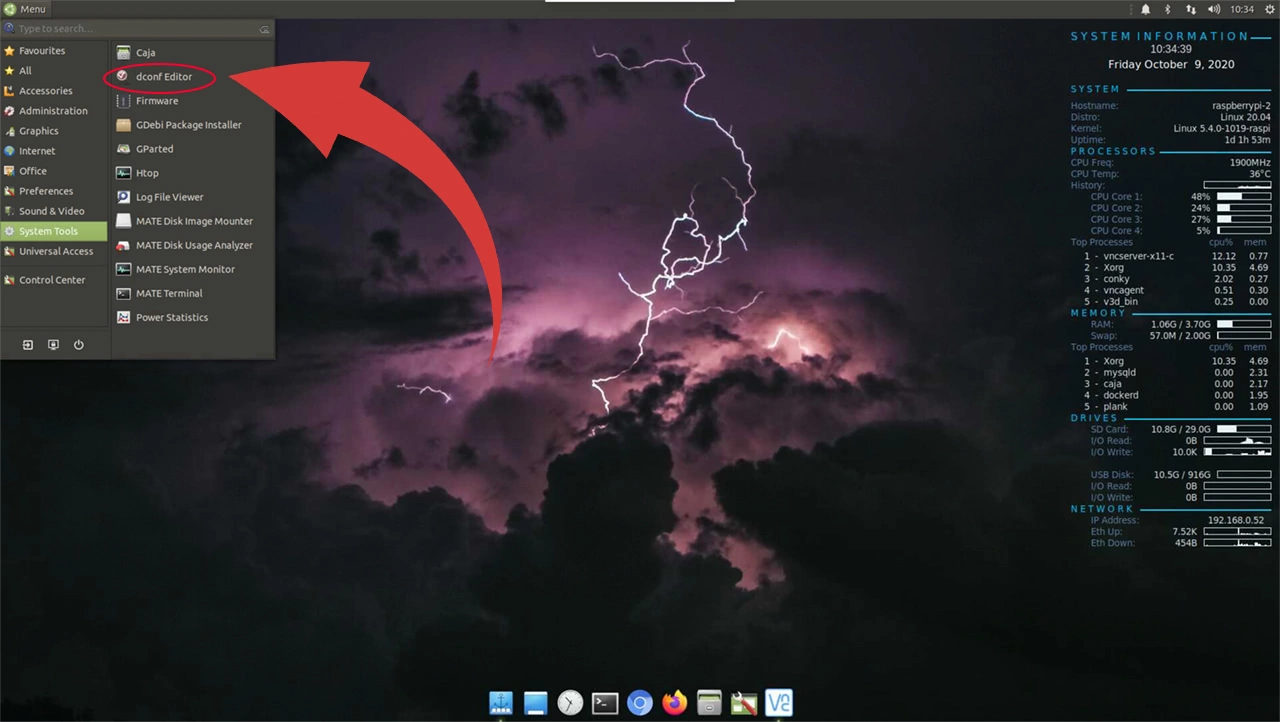
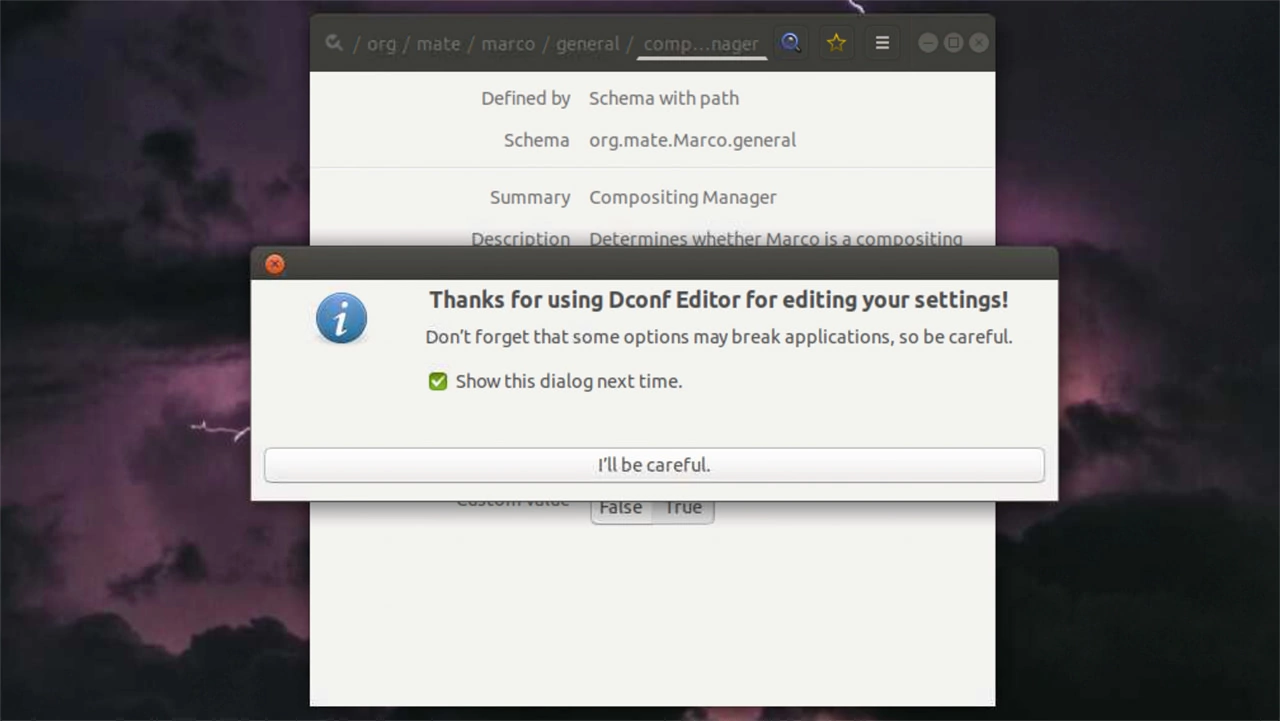
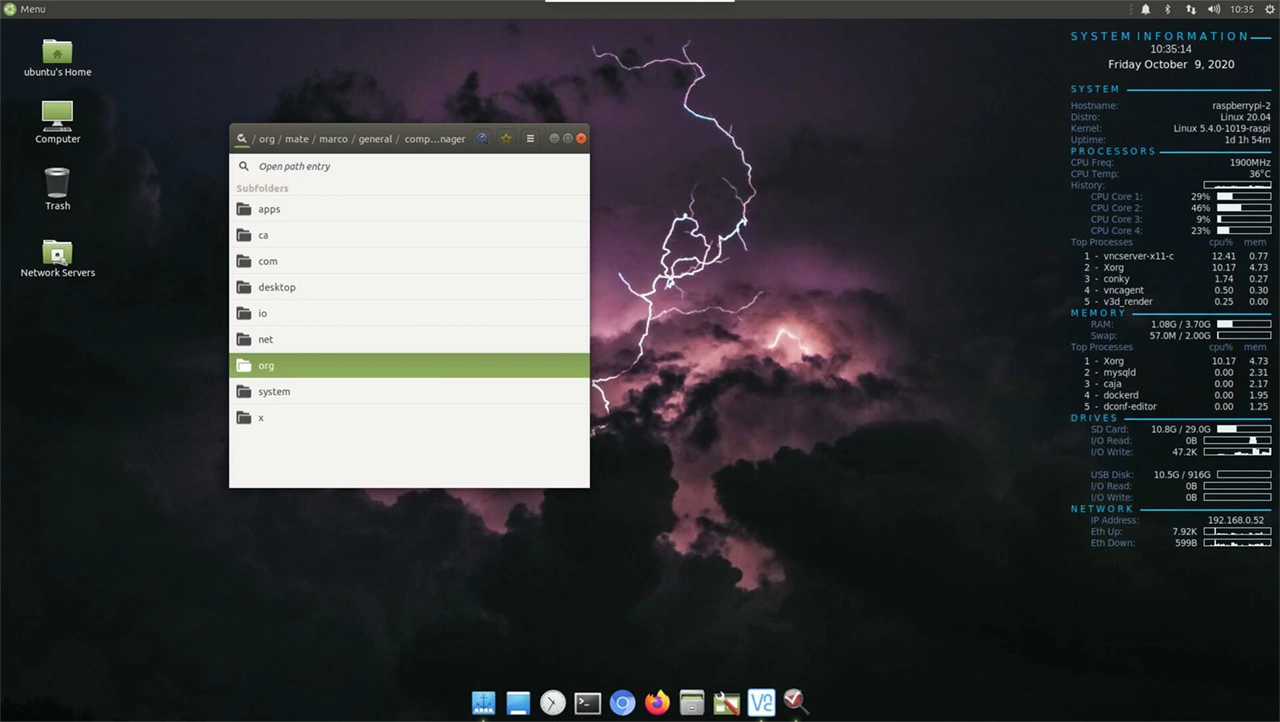
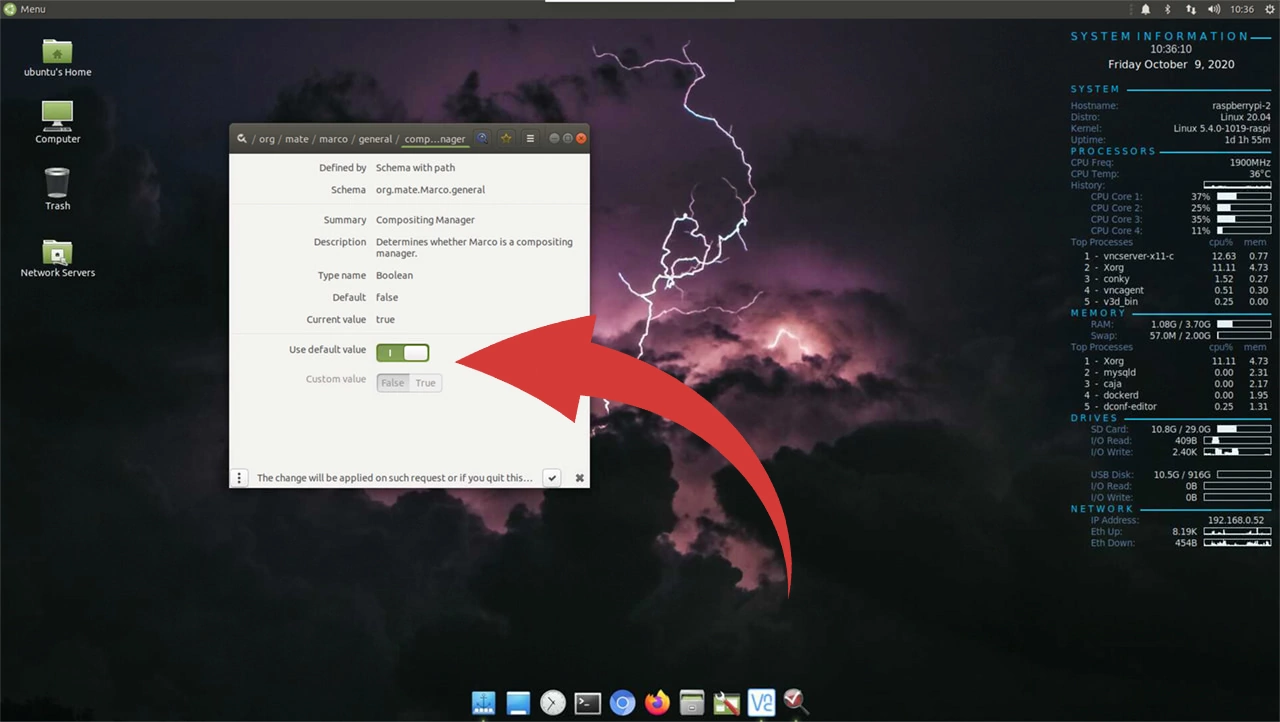
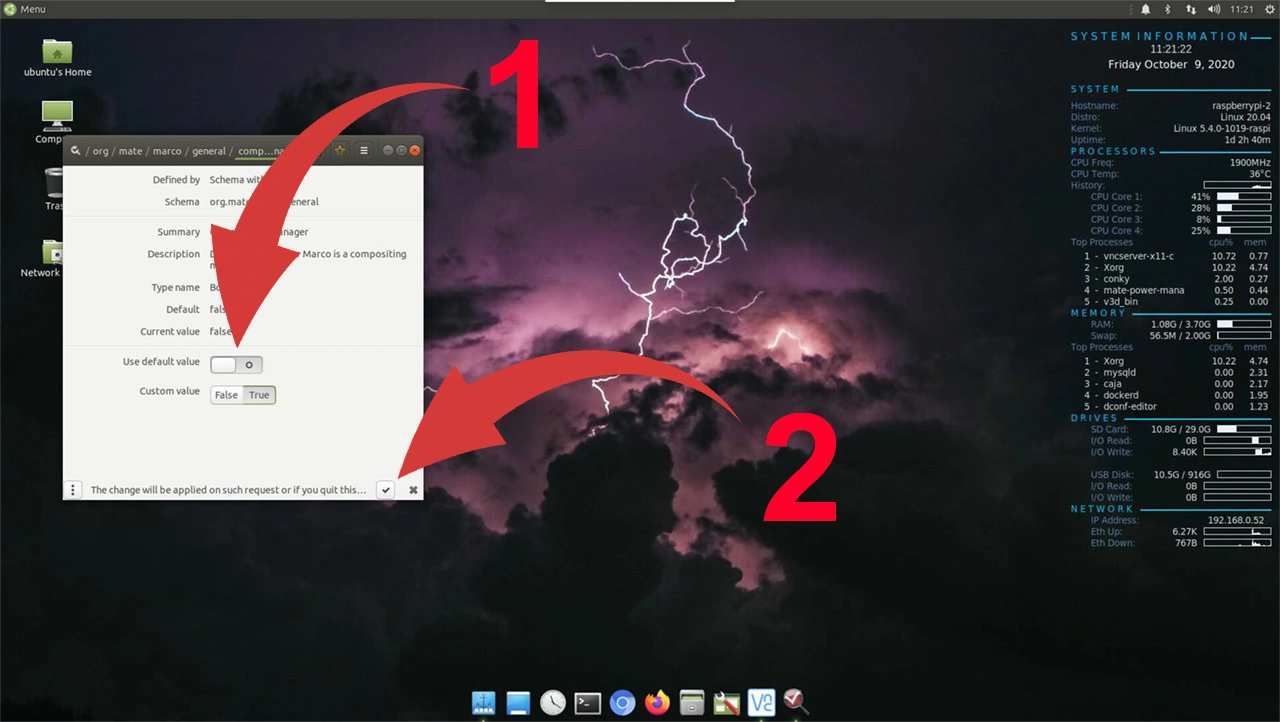
Ubuntu sound issues Step-by-step guide on how to set default sound output device in Ubuntu with MATE desktop environment How to fix sound on Ubuntu

Read More »