raspberry
How to fix transparency in Ubuntu
Ubuntu transparency issues Detailed guide on how to permanently fix transparency in Ubuntu with Mate Desktop environment. MATE transparency problems Sooner or later, you may
A step-by-step guide on how to install Raspberry Pi OS. Which OS image to choose and how to write it to the SD card.
So you got your shiny new Raspberry Pi and you are eager to get it up and running as fast as possible. However, before you start unpacking the micro SD card to install the OS, there are few things to consider. First of all, do you want or need a desktop environment? If you don’t need it you can grab that micro SD card, jump over to your computer and skip to section number 1 below. If you are a desktop kind of a guy/gal than keep on reading.
The ease route is to install the default Raspberry Pi OS with a desktop environment. I’ll explain how to do it in a little bit. It works very well. It’s not very resource intensive and that makes Raspberry quick and responsive. Unfortunately, it’s not very pretty. If you care about aesthetics it may not be a good choice.
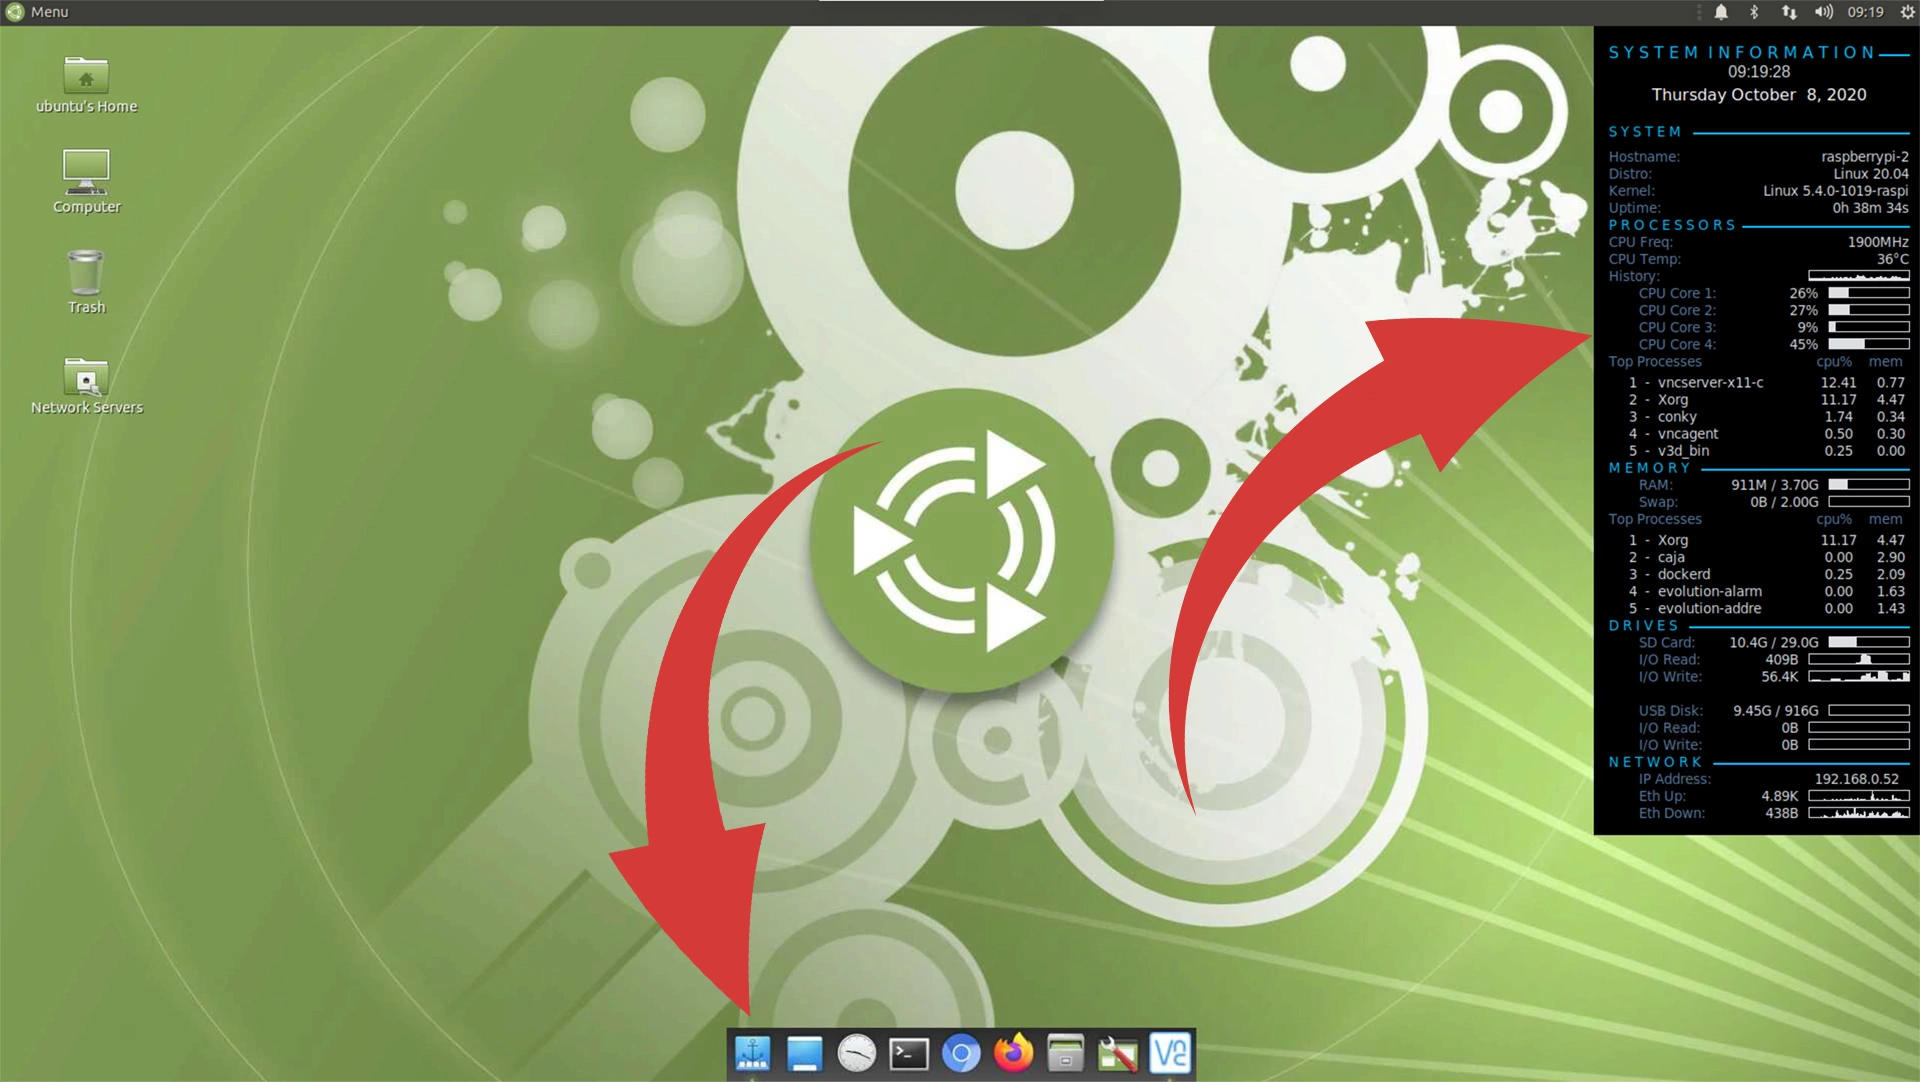
Thankfully we have several options to choose from. The main ones are KDE and GNOME and a few derivatives of the two. KDE is beautiful but this comes at a cost. Since Raspberry Pi is not a very powerful device I would strongly suggest picking something less resource intensive. LXDE, XFCE or MATE are all very good choices. MATE is my personal favorite and that’s what I am running on my Raspberry.
Don’t worry if this is confusing and you are not sure which route to take. I am sure that before you find your favorite Desktop Environment (DE) you will erase the SD card a few times. This process is quick and easy.
Now the good stuff and an answer to the “How to install Raspberry Pi OS” question. Download the latest Raspberry Pi Imager for your operating system and install it. Start the app and you will be greeted with a screen like the one below.

Clicking the “CHOOSE OS” button opens a menu with several choices. Since this guide is about the Raspberry Pi OS that is what we are going to concentrate on. To install the OS with recommended by Raspberry Pi options select the first option.
If you are more adventurous and want to explore other possibilities select the “Raspberry Pi OS (other).

The “Raspberry Pi OS (other)” option gives us two choices. First is the Lite version which does not come with a desktop environment and the Full OS.
Select Lite if you want to install DE of your choice or if you want to run the Raspberry Pi as a server without GUI interface. Instructions on how to install Desktop Environment can be found in my next post, link at the bottom of the page.
Select Full if you want to have the OS with the default Raspberry Pi OS desktop and all the bells and whistles offered by Raspberry Pi OS.

Please be very careful during this step! If you select the wrong destination your hard drive or an external drive can be overwritten with the Raspberry Pi OS. You may lose data!
Click on the “CHOOSE SD CARD” button and a selection of media where the Pi OS can be installed will appear on the screen. Select your SD card, in my case, it would be the “Apple SDXC Reader Media” and proceed to the next step.

You are ready to write the OS image to the card. Click the “WRITE” button and wait for the app to finish. Depending on the image selected the process can anywhere from a few minutes to half an hour.
Now you can insert the micro SD into the Raspberry Pi. Make sure Pi is connected to a monitor or TV. Don’t forget about the keyboard and mouse of course and power it up!
When Raspberry boots up and the login prompt appears on the screen you can log in. The default user name is pi and the password is raspberry.
The first thing you should do is install the newest OS updates. Updates require execution of two commands. First is apt update followed by apt upgrade. Sudo in front of both commands tells Linux to execute them as root user and && lets us execute two commands in on go. The – y option executes the command without our input.
sudo apt update && sudo apt -y upgrade
That is how you install Raspberry Pi OS. If you selected the Lite version of the Raspberry Pi OS and want to install custom desktop environment head over to the How to install desktop environment guide. Ubuntu and Manjaro installation guides are in the works and will be posted soon.
PS Commenting is turned off here for now so if you have any comments or questions visit U Press Me Facebook page and post it there. Would comments here be helpful? Let me know.
Ubuntu transparency issues Detailed guide on how to permanently fix transparency in Ubuntu with Mate Desktop environment. MATE transparency problems Sooner or later, you may

Ubuntu sound issues Step-by-step guide on how to set default sound output device in Ubuntu with MATE desktop environment How to fix sound on Ubuntu

RealVNC on Ubuntu Step-by-step guide on how to install RealVNC server on Ubuntu with MATE desktop. How to install RealVNC server on Ubuntu So why
© 2022 U Press Me. ALL RIGHTS RESERVED